
Kitchen Backsplash
The wall between your countertop and cabinets is one of the most visible surfaces in your kitchen. We set it right.
The Details That Make a Backsplash Look Right
You have spent time picking out the tile. Maybe it is a classic white subway in a stacked pattern. Maybe it is a zellige tile with an irregular handmade surface. Maybe it is a large-format slab that runs floor to ceiling behind the range. Whatever the material, the installation determines whether it looks considered or thrown together.
A few specifics that matter on a backsplash job:
Layout Origin Point
The layout should be planned from the most prominent visual anchor in the kitchen — usually the center of the range or the center of the most visible wall. Cut pieces go at the least visible ends of the run, not at the focal point. We dry-lay the pattern before adhesive goes down to confirm the layout looks correct in your actual space.
Outlet Cutouts
Every kitchen has outlets on the backsplash wall. Clean outlet cutouts require a wet saw and careful measurement — not a grinder or an approximation. The cut edge of the tile should be covered by the outlet cover plate, but the tile itself needs to sit flush to the wall box opening without gaps.
Cabinet and Countertop Transitions
Where the backsplash meets the underside of upper cabinets and the top of the countertop, the tile edge needs to be finished cleanly. This might mean a pencil liner, a metal trim piece, or simply a tight cut depending on the material and the look you want. We discuss the edge treatment option before work starts.
Surface Prep Behind the Range
The wall behind a gas or electric range gets more heat than the rest of the backsplash. We use a heat-rated thinset in that zone rather than standard mastic adhesive, which can soften over time under sustained heat exposure.
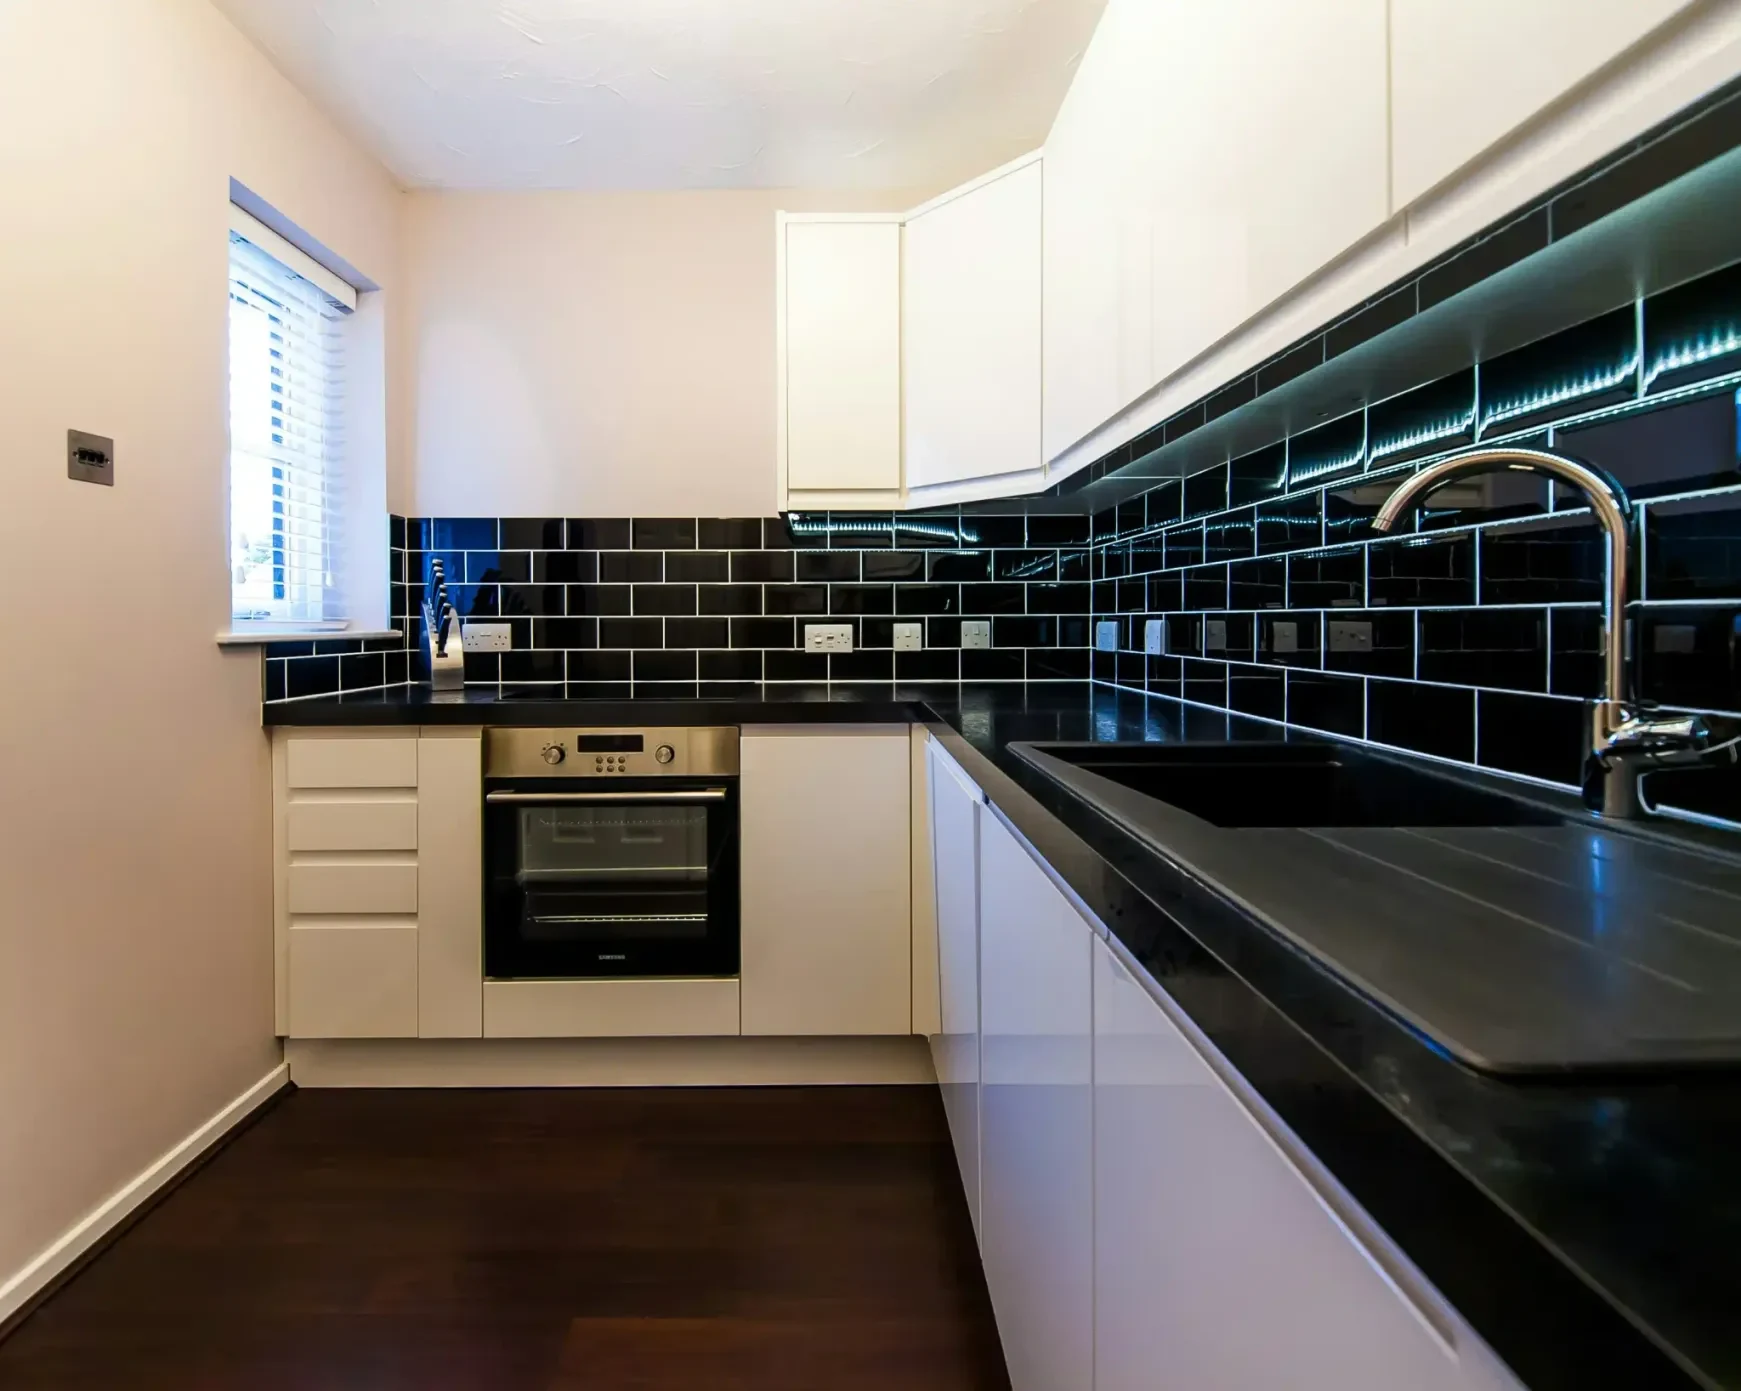
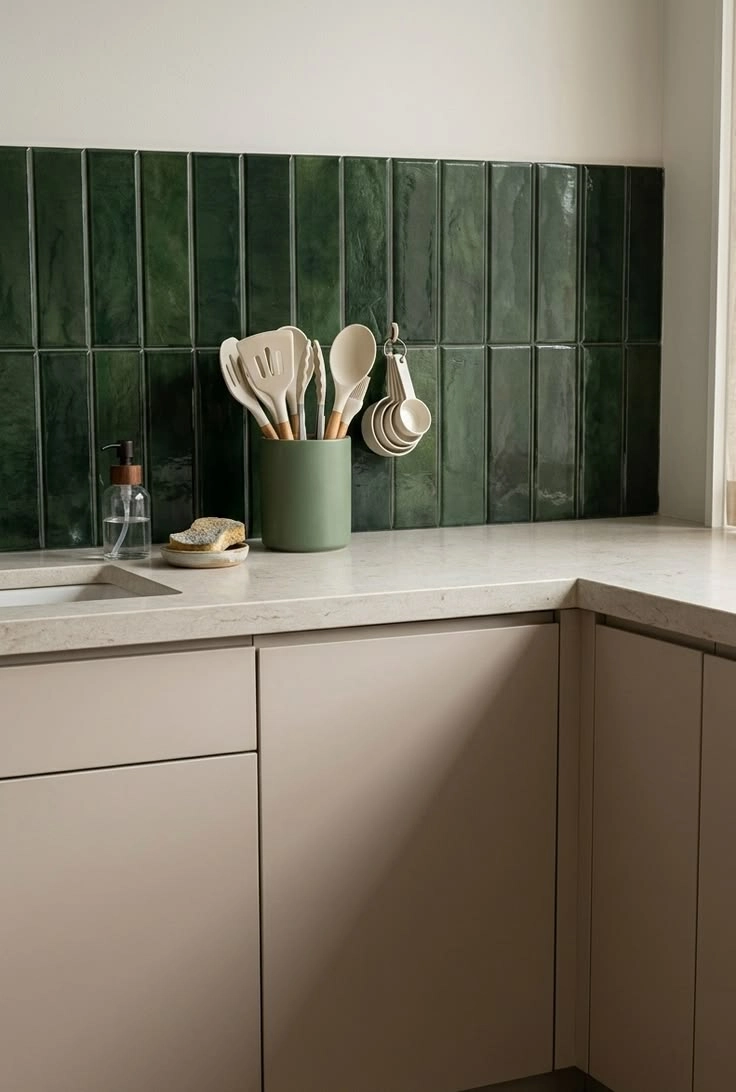
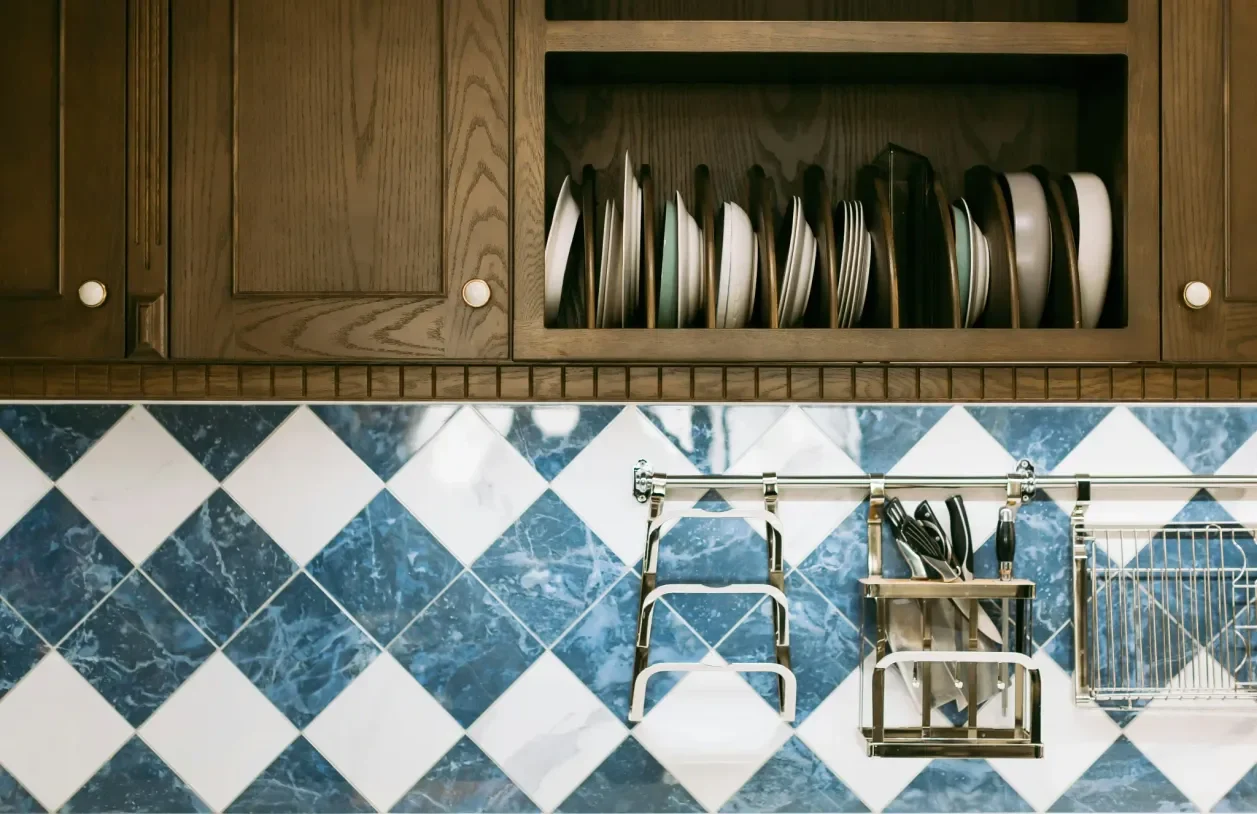
Kitchen Backsplash Work in Southwest Atlanta
West End
Kitchen renovations in craftsman and bungalow homes along the West End corridor.
Adair Park
Updated kitchens in Adair Park's active renovation community.
Capitol View
First-time kitchen tile updates in Capitol View homes.
Mechanicsville
Compact kitchen backsplashes where every cut counts.
Planning a kitchen backsplash? We are available seven days a week to discuss the project.
(470) 912-1656 Send a Message