
Residential Tile Installation
Tile set properly in Atlanta homes — floors, bathrooms, kitchens, and entryways across Southwest Atlanta neighborhoods.
What Residential Tile Installation Actually Involves
Picture this: you have decided to replace the worn-out vinyl in your kitchen with porcelain tile. You pull up the old floor and find the plywood subfloor has a soft spot near the sink. That soft spot, if not addressed, will telegraph movement into any tile you lay over it — cracking grout lines within a season or two.
This is the kind of thing that separates a careful tile installation from a rushed one. Residential tile work is not just about laying tile. It is about reading the existing conditions first and handling what you find before the first piece goes down.
We work in Atlanta homes regularly — both newer construction and the older bungalow-style housing that makes up much of the West End and surrounding neighborhoods. Older homes often have wood subfloors with decades of settling, which requires different prep than a concrete slab. We assess the substrate, address any issues, and proceed from a stable foundation.
What We Install
Residential tile installation covers a range of surfaces and rooms. Common projects include:
- Kitchen floors (porcelain, ceramic, natural stone)
- Bathroom floors and walls
- Shower surrounds and pan floors
- Entryway and foyer floors
- Laundry room floors
- Sunroom and screened-porch floors
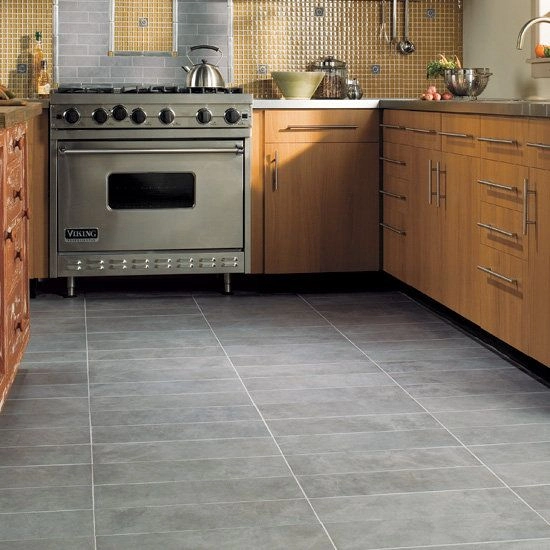
Material choice matters for each application. A polished marble tile is a poor choice for a high-traffic kitchen floor because it scratches easily — a matte-finish porcelain in a similar visual style will hold up far better. We talk through these tradeoffs with you before work starts.
Our Installation Process
Substrate Assessment
We check the subfloor or wall for levelness, moisture, and structural integrity before anything else happens. Issues found here are disclosed and discussed before work proceeds.
Surface Preparation
Depending on the substrate, this might mean installing cement board over wood subfloor, applying a leveling compound to low spots, or scarifying an existing concrete surface for better adhesion.
Layout Planning
We snap chalk lines to establish a centered, balanced layout before any adhesive is mixed. The most visible wall or the room's centerpoint determines where the layout originates.
Setting the Tile
Thinset is back-buttered on larger tiles to ensure full coverage. Tiles are set with consistent spacers. Each tile is tapped level and checked against adjacent pieces as we go.
Grouting and Finishing
After the thinset cures, we grout with the joint size and color you selected. Excess is cleaned off tile faces before it hardens. Transitions and thresholds are installed at room borders.
Serving These Atlanta Neighborhoods
We provide residential tile installation in the following Southwest Atlanta communities:
West End
Historic homes along Ralph David Abernathy Blvd and surrounding blocks.
Adair Park
1920s bungalows undergoing thoughtful renovation throughout the neighborhood.
Capitol View
Solid older homes getting their kitchens and bathrooms brought up to date.
Mechanicsville
Compact homes close to downtown with tight layouts we navigate comfortably.
Have a residential tile project in one of these neighborhoods? Call us or send a message.
(470) 912-1656 Send a Message